We all have that one pair of shoes that we love to wear, but as time goes on, they start to develop creases that can be unsightly and even uncomfortable. Creases in shoes can be caused by various factors, such as the natural movement of the foot or improper storage. However, with a few simple techniques, you can smooth out those wrinkles and extend the life of your favorite shoes.
In this guide, we will explore different methods for fixing creases in shoes, from using household items to specialized products. Whether you’re a sneakerhead or just looking to maintain your footwear, these tips will help you keep your shoes looking fresh and stylish.
Preparation
When it comes to fixing creases in shoes, preparation is key. You need to make sure that your shoes are completely dry and free of dust before doing any kind of repair. You’ll also need some materials such as rubbing alcohol, cotton swabs, and a sponge. Gather all of these items together before you start the repair process.
Gather materials needed
Before you begin to create your shoes, there are a few materials that you may need to gather together. Depending on the type of shoes you have and the type of repair job you are attempting, these supplies can vary from shoe to shoe.
Below are some materials commonly used in shoe repair and maintenance.
- Laundry detergent
- Sponge or soft cloth
- A soft brush (preferably medium bristle)
- Hair dryer/heat gun/iron/steam cleaner (depending on the type of materials used in the shoe)
- Carpenter’s glue or industrial glue (if needed)
- Leather conditioner/salve (if needed)
Once you’ve gathered all your supplies, you’re ready to begin the process of creating your shoes!
Clean the shoes
Before you can start fixing creases in your shoes, it is essential to clean them thoroughly. Take the laces out of the shoes, and give them a quick wipe down with a damp cloth or shoe brush. Be sure to pay attention to all areas of the shoe, including intricate seams and other hidden spots which may hold dirt or grime. If needed, you can use a mild cleaner to clean off any tough stains. Then, dry them completely with a soft cloth before moving on to the next step.
Steam Method
One of the most effective ways of smoothing and removing creases in your shoes is to use a steam method. This method is fast and effective, and it can be done with a few simple items such as a steamer or boiling water. With this method, you can make your shoes look good as new.
Let’s get into the details.
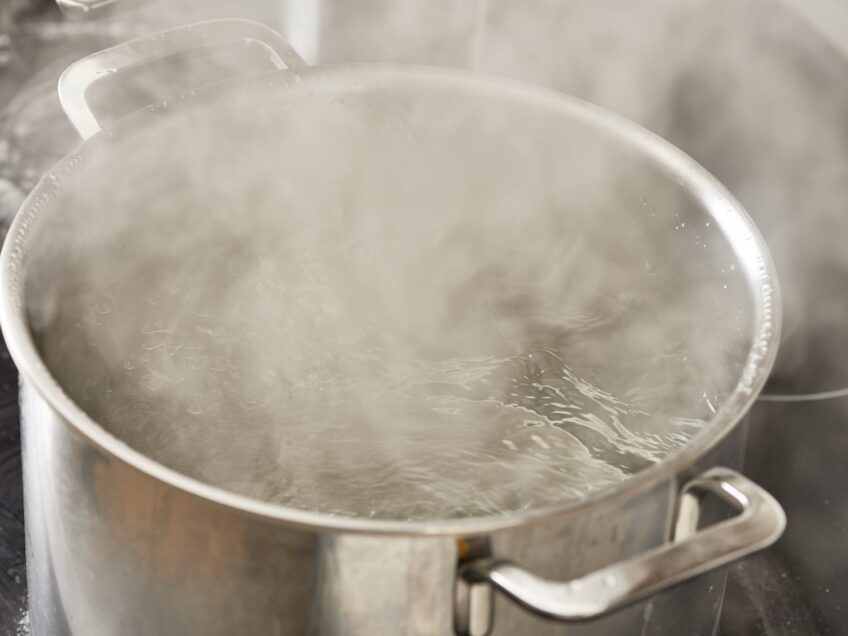
Fill a pot with water
Fill a pot with water and then bring it to a boil. Once the water has reached a full rolling boil, reduce the heat and simmer the water for a few minutes. Carefully remove the pot and then place it on an oven-safe surface or hot pad. The key to this method is steam, so make sure you don’t leave too much water in the pot!
Then place your shoes above the open pot, making sure you keep them at least six inches away from the boiling water. Be sure to wear protective gloves when handling your shoes and touching any steam created by this method. After about six minutes of exposure to steam from below, your shoe creases should be nearly gone; much more quickly than creases created from use.
Position your shoes so that all areas are able to dry evenly, if needed use a fan or hairdryer on cool settings to expedite drying time before wearing them again.
Place a clean cloth on top of the shoe
In order to employ the steam method, you should first begin by gathering all of the necessary materials. You will need a hand steamer, an iron with a steam setting if available, a clean cloth and something to press against the shoe that will fit inside it.
To begin, place a clean cloth over the outside of the shoe where the crease is. This cloth will help protect your shoe against any possible damage caused by extreme heat.
Next, activate your steamer or iron and direct it to the affected area of your shoe. Travel across quickly so as not to linger too long in one spot. You can direct it either on top of or underneath the cloth that you have placed over your sneaker—whichever is more comfortable for you to do. Keep this up for about 15 seconds before moving on to another area.
Finally, allow your shoes to cool for some time before touching them with bare hands—you don’t want to accidentally burn yourself! Once cooled (but still warm) press down firmly from the inside or outside of your shoe until desired crease-free shape has been achieved and maintained. Allow proper time for cooling before wearing them again and enjoy!
Hang the pot over the stove
Using the steam method is a great way to extract the flavors and oils from coffee beans to make a delicious cup of coffee. To brew with this method, you’ll need an enamelware pot, some hot water, and your boiled cup of freshly ground beans. Before you start, make sure your pot is in good condition — any chips or dents can cause it to be less effective.
To get started, hang your pot over the stove on medium-low heat or use a flame diffuser if you have one. Add half a liter of cold tap water in the bottom of the pot along with around 20 grams of coarsely ground coffee — you can adjust those ratios depending on how strong you like your coffee — but don’t use too fine a grind as that would lead to over-extraction.
Place the lid onto the top of the pot and wait for it to begin bubbling before bringing it off the heat for about 45 seconds. This will allow for fuller extraction and help keep it from boiling over. Finally, return it back to low heat until all signs of bubbling stop — usually around five minutes. After that, give it another minute then strain and enjoy your perfect cup!
Iron Method
This method is popular because it does not require any additional items or tools, and only takes a few minutes to complete.
However, it is important to remember to heat the shoe up gradually and not use too high of a heat setting in order to avoid any damage to the shoe material. Here, we will be discussing how to use the iron method to fix them.
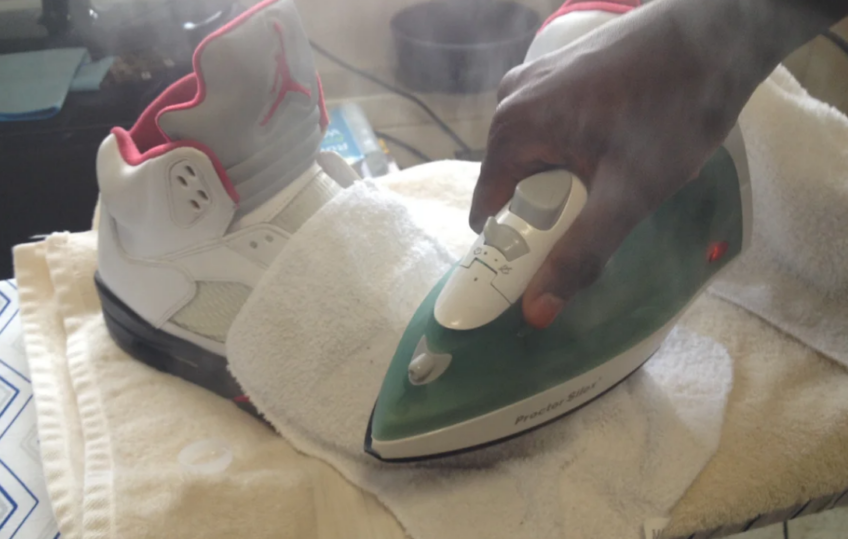
Set the iron to a low temperature
When using an iron to remove creases from leather shoes, it is important to set the temperature of the iron to the lowest setting. Many irons have a setting specifically labeled as “leather,” which is ideal when correcting leather shoe wrinkles. It is vital that you choose a temperature setting that will not damage the finer leather material.
Before applying direct heat, use a damp cloth or sponge over your spoiled area and let it rest before moving forward with the iron method. After successfully turning on your pre-heated iron, you can place it over the dampened cloth or sponge while it remains on your shoes. Hold this in one place for 2 minutes before pressing hard and frequently move the motion around other similar areas.
It may be necessary to re-dampen any dry parts of your cloth or sponge. In order to achieve satisfactory results, use caution during this procedure – when dealing with high temperatures, sudden breaks in the movement must be extremely precise so as not to cause permanent damage to your footwear.
Iron the shoe for 10-15 minutes
Using an iron to remove them is a simple, yet effective, approach. To begin, set up a flat surface to put your shoes on. Next, locate a piece of paper towel or other thin cloth and place it over the creased area of the shoe. This step is critical as it helps protect the shoe from burning or getting too hot from the iron.
Next, lower the temperature of the iron and set it to low heat or “linen.” You do not want your shoes exposed to high temperatures for an extended period of time. Allow your iron to heat up for about two minutes, or until you hear sizzling on contact when you press directly onto the cloth.
Once heated up, take an extra pair of socks and slip them over the toes of your shoe if needed (this will help provide even more insulation between the paper towel and shoe). Now begin slowly applying pressure with your heated iron over the top of the paper towel in several places across each side where you see creasing; try moving it overtop by 1-1/2 inches each pass. It’s best that you keep repeating this process for 10-15 minutes in one spot before moving further down the length of shoe as too much direct contact with a single area for longer than 10-15 minutes can burn leather or cause irreversible warping depending on material type.
Finally once satisfied with the results be sure to turn off your iron and wait until cools before attempting to remove any clothing that may have been added as additional insulation (e.g.; socks).
Freezer Method
This involves putting your shoes in the freezer overnight. The extreme temperatures will make the leather slightly more pliable and help get rid of the creases.
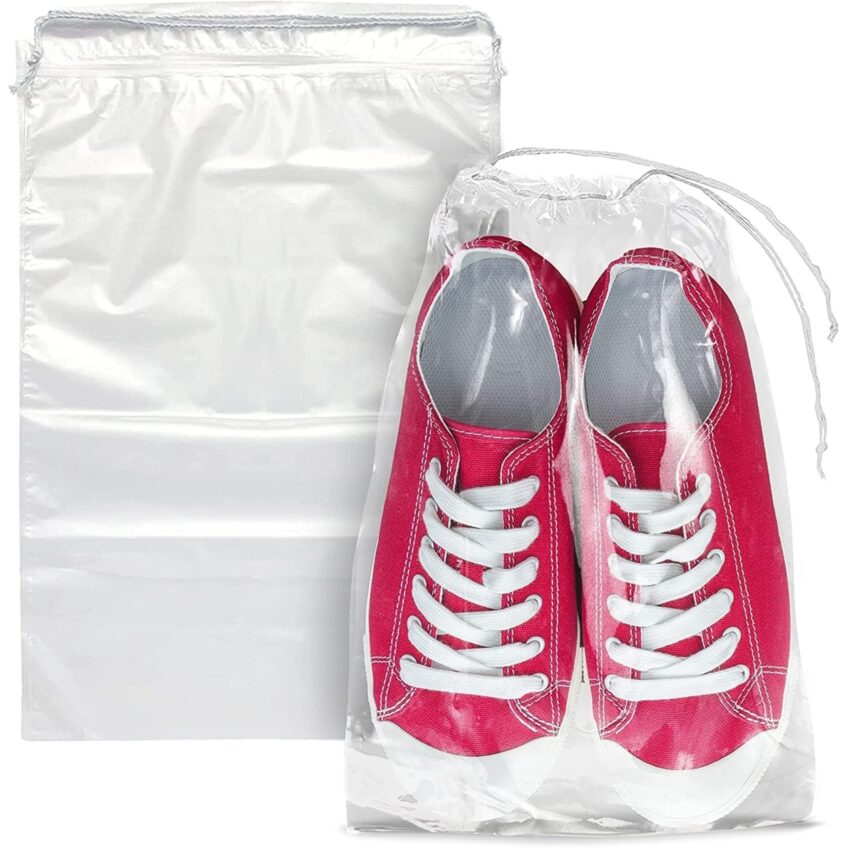
Place the shoes in a plastic bag
To use this simple self-repair method, start by placing them in a plastic bag or large sheet of cling wrap. Make sure they are snugly fitted into each other, with all creases and wrinkles pressed out as much as possible. If you’re dealing with a particularly deep wrinkle, place one shoe on top of the other and carefully press down to flatten it completely. Once the shoes are neatly arranged, seal the plastic bag tightly around them to prevent air from entering.
Put the bag in the freezer for 2-3 hours
The freezer method is one of the simplest and most effective ways to fix creases in leather shoes. To use it, place them inside a plastic bag and then put them into the freezer overnight or for two to three hours. As the shoe material cools in the cold air, it will contract, drawing out any wrinkles or creases that have formed. Once they are sufficiently chilled, take them out of the bag and allow them to warm up at room temperature until they reach their original shape.
You can repeat this process multiple times if necessary. It’s important to note that leather material behaves differently than synthetic materials so there’s no guarantee that this method will work with all types of shoes. However, due to its simplicity and low cost, it’s definitely worth giving it a try!
Take them out of the freezer and leave them to thaw
Once they have been left in the freezer for at least two hours, take them out of the freezer and leave them to thaw. This can take between 15 minutes and several hours; if you are in a hurry, you can try removing one shoe from the freezer and placing it on top of a towel on a warm surface (such as a heating vent or radiator) for about fifteen minutes.
Once they have thawed, your intended results should be achieved; the creases should be gone. If not, repeat this process until you are satisfied with how your shoes look. Once completed, make sure to store them away properly so that this creasing problem does not occur again in future uses.
Finishing Touches
After applying the shoe stretching methods, it’s time to finish the job and make your shoes look brand new again. Fortunately, there are a few tips and tricks to make those stubborn creases disappear.
Use a shoe brush or cloth to buff the shoe
Once you have filled the crease with cream, it is important to buff it out. Using a soft brush or cloth, buff the area in a circular motion. Make sure to focus on the area where you applied the cream, as well as a few inches over each side. The goal is for the cream to blend in with the surrounding leather so that visitors won’t be able to tell it was recently repaired.
You can also try running a hair dryer over the area. This will help ensure that any excess residue of leather stain is removed and allow them to look smooth and even. After this process, they should no longer be forming creases in uncomfortable spots or otherwise looking damaged or aged prematurely.
Apply a leather conditioner to the shoe
The next step to fixing them is to apply a leather conditioner. There are several types of leather conditioners available, ranging from conditioning wipes to cream polishes. Before applying any product to the shoe, test it on a separate piece of leather or in an inconspicuous area of the shoe.
Once you have chosen the appropriate conditioner, follow the manufacturer’s instructions for application. Start by cleaning and drying them before applying the leather conditioner. Then apply a thin layer of conditioner over the creased area and let it sit for 10-15 minutes until fully absorbed into the leather. Finally, buff off any excess product with a soft cloth and leave them overnight to fully dry before wearing them again.
FAQs

How do I use a shoe tree to fix creases in shoes?
To use it, insert it into the shoe and leave it in place for several hours or overnight to help reshape it and smooth out creases.
How often should I use a shoe tree?
Using it regularly can help prevent creases from forming, so it is recommended to use one every time you store them.
Can creases in leather shoes be fixed?
Yes, they can be fixed using the same methods as for other types of shoes.
Can creases in sneakers be fixed?
Yes, creases in sneakers can be fixed using the same methods as for other types of shoes.
Will fixing creases in shoes cause damage?
Properly fixing them will not cause damage, but it is important to follow instructions carefully and avoid using excessive force.
Can I fix deep creases in my shoes?
While deep creases may be more challenging to fix, using a combination of methods can help smooth them out.
Can fixing creases in shoes be a DIY project?
Yes, fixing them can be a DIY project, but it is important to follow instructions carefully and avoid damaging them.
Should I seek professional help to fix the creases in my shoes?
If you are unsure how to fix them or if they require more extensive repair, it may be best to seek professional help from a cobbler or shoe repair service.
Conclusion
In conclusion, fixing them can help extend the life of your favorite footwear and keep them looking fresh and stylish. Whether you choose to use household items or specialized products, there are various methods available to smooth out those wrinkles and restore your shoes to their original condition.
By taking care of them and addressing creases early on, you can avoid more extensive damage and save money in the long run. So the next time you notice creases in your shoes, don’t despair – try out some of these techniques and enjoy your favorite footwear for years to come.